
You step back from the dust sheets, admire the new tiles, and promise yourself this time you’ll keep on top of the little jobs. Then the first “small” drip appears, and suddenly you’re googling emergency plumbing at midnight, wondering how a fresh refit can unravel so quickly. The uncomfortable truth is that installation oversights tend to hide during the handover glow - and only show themselves once everything is hot, pressurised, and in daily use.
It’s rarely one dramatic mistake. It’s usually a chain of tiny, normal-looking choices that don’t fail on day one, but do fail on week three, right when the house is finally back to normal.
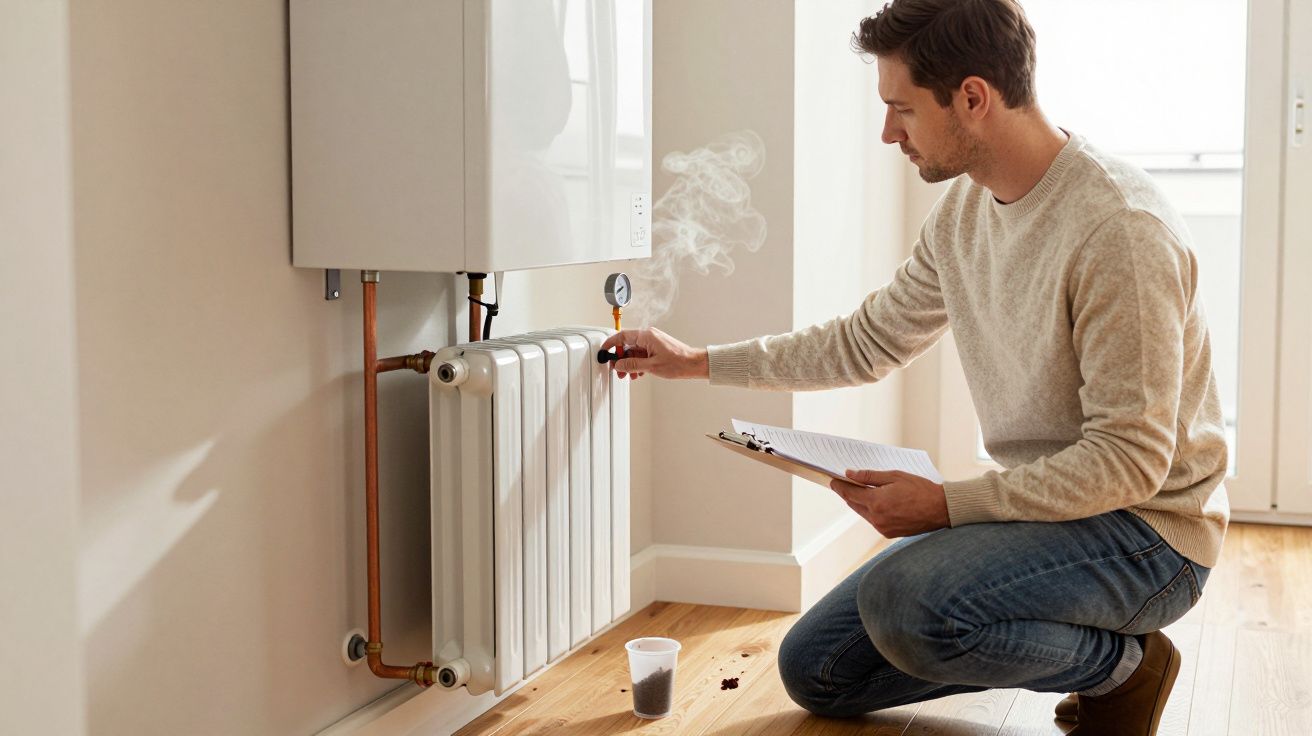
The refit honeymoon is when faults stay quiet
New pipework and fittings can look perfect and still be on the edge. A joint can be just slightly under-tightened, a washer can seat poorly, or a trap can be misaligned by a few millimetres. In the moment, everything appears sound because the system hasn’t been stressed: no long showers, no dishwasher cycles back-to-back, no heating ramping up on a cold morning.
Then real life returns. Heat expansion kicks in, vibrations from appliances start, and water pressure varies through the day as neighbours draw on the same supply. That’s when “fine at sign-off” turns into a slow leak behind a vanity unit.
“Most post-refit emergencies aren’t new disasters - they’re small weaknesses finally getting their first proper workout.”
Why call-outs spike: the five usual triggers
The pattern is surprisingly consistent across kitchens, bathrooms, and utility rooms. The emergencies tend to cluster around a handful of stress points that only appear once the system is being used the way you actually live.
1) Heat and movement
Hot water makes materials expand. Copper, plastic, rubber washers, even the cabinet carcasses around them - they all move slightly. If a pipe has been forced into position, or clipped too tightly, that movement can translate into a joint creeping loose or a pipe rubbing until it wears.
Typical “week two” signs include:
- Ticking/creaking when hot water runs
- A faint damp smell that comes and goes
- A stain that looks like steam damage but slowly darkens
2) Traps and wastes that were “made to fit”
Waste pipes are unforgiving. A trap that’s twisted to meet an awkward outlet can hold tension, and tension eventually wins. The leak might only show when a full basin drains, or when the washing machine pumps out quickly and the pipe flexes.
Common installation oversights here are over-long waste runs, poor falls (not enough slope), and push-fit connections not fully seated. None of these always leak immediately, which is exactly why they’re so good at ambushing you later.
3) New fixtures meet old pipework
Refits often keep some original pipework: a section in a wall, a tee under the floor, a stopcock that “still works”. The new bits are clean and precise; the old bits are scaled, slightly oval, and sometimes previously bodged. Joining the two can create weak transitions where olives don’t seal nicely, threads are tired, or corrosion is already underway.
That’s why emergency plumbing after a refit so often involves something that “wasn’t even touched”.
4) Pressure changes after upgrades
A new combi, a new shower valve, a relocated kitchen tap - any of these can change how pressure behaves. If a pressure-reducing valve is missing or incorrectly set, fittings that tolerated gentle flow may start to weep under higher loads. Conversely, poorly balanced systems can create water hammer: that bang in the pipes when a valve closes, which can shake joints over time.
Quick reality check: if the new shower is “amazing” compared to the old one, the rest of the system is now being asked to cope with a different game.
5) Sealing and waterproofing that’s cosmetically perfect, practically risky
Bathrooms are masters of illusion. Silicone can look neat and still fail because the surface wasn’t dry, the bead was too thin, or movement gaps weren’t allowed for. A slow seep behind tiles doesn’t announce itself; it feeds the floor, then the ceiling below, then the phone call you didn’t plan on making.
If the first sign is a bulging skirting board or a downstairs light fitting “acting funny”, you’re already beyond a quick tidy-up.
The boring checks that prevent the dramatic call
You don’t need to become your own plumber, but you do need a short, repeatable routine - especially in the first month after works. Most leaks that become emergencies give you a quiet warning first.
A 10-minute weekly routine for the first 4 weeks
- Look under every sink and feel around the trap and isolation valves (dry tissue shows tiny leaks fast).
- Run the bath and basin together, then drain both and watch the waste connections.
- Check the seal line around baths and shower trays for gaps or lifting.
- Listen for banging when appliances shut water off; note when it happens.
- Find the stopcock and confirm it turns and actually stops the flow.
If you spot a small drip, don’t “keep an eye on it” for a fortnight. Water is patient, and chipboard cabinets are not.
When it’s DIY, when it’s the installer, when it’s an emergency
A refit can leave homeowners stuck between “I can tighten that” and “I’ll make it worse”. The safest approach is to separate nuisance issues from risk issues.
Usually low risk (but still worth fixing promptly):
- A slow drip from a tap spout
- A slightly loose waste compression nut you can access easily
- A radiator that needs bleeding (with the system off and a cloth ready)
Higher risk - call the installer or a qualified plumber:
- Any leak you can’t see clearly (behind a bath panel, inside a wall, under flooring)
- Water marks on ceilings, walls, or around downlights
- Repeated loss of boiler pressure, or the filling loop being used often
- Electrical symptoms near water (tripping RCD, flickering bathroom lights)
If you’re isolating water in a panic, that’s already emergency plumbing territory. The goal is to avoid getting there.
“A refit doesn’t fail because the house is unlucky. It fails because small issues were never given their first proper test.”
A quick handover checklist that stops the “first month spike”
If you’re mid-refit or about to sign off, ask for a short demonstration rather than a verbal “all good”. It’s not awkward; it’s sensible.
- Show me the stopcock and any isolation valves you’ve added.
- Run every tap and appliance feed while you look underneath (torch in hand).
- Confirm shower hot/cold balance and check for hammering.
- Ask what pressure the system is set to (and what it should be).
- Get a note of what was replaced vs what was left original.
A tidy finish is lovely. A tested system is what keeps your Saturday night from turning into a call-out.
FAQ:
- Why do leaks appear after a refit, not during it? Because the system often isn’t stress-tested in the same way you use it day to day: long hot showers, simultaneous fixtures, appliance pump-outs, and heating cycles.
- Are post-refit issues usually the installer’s fault? Not always, but installation oversights are common, especially where new fittings connect to older pipework or where wastes have been “persuaded” into place.
- What’s the first thing to do if I suspect a leak? Stop using the fixture, dry the area, and check again with tissue/torch to confirm the source. If it’s hidden or spreading, isolate the water and call a professional.
- How soon should I recheck everything after handover? Weekly for the first month is ideal, then monthly for another couple of months - most early failures show up in that window.
- Does higher water pressure make this worse? Yes. Higher pressure can turn a marginal seal into a drip, and water hammer can loosen joints over time. A plumber can measure pressure and fit/adjust a reducing valve if needed.


Comments (0)
No comments yet. Be the first to comment!
Leave a Comment