You can stand in a brand-new bathroom, admire the crisp silicone line and the glossy tile, and still end up learning about waterproofing the hard way. Latent leaks are the awkward truth behind a lot of “finished” renovations: the water is getting out, just slowly enough that you don’t see it until the smell, the stain, or the swollen skirting board gives the game away. It matters because repairs rarely stay politely inside one room - they spread into ceilings, electrics, insurance arguments, and that specific kind of regret you feel when you remember how expensive the tiles were.
We’ve all met the confidence of a fresh fit-out. The trades have packed up, the grout looks clean, and the shower feels like the first proper adult purchase you’ve made in years. It’s only later, when a tile sounds a bit hollow or the paint bubbles on the other side of the wall, that you realise “looks sealed” and “is sealed” are not the same thing.
There’s a difference between a bathroom that’s pretty and a bathroom that can survive being a wet room five days a week.
The myth of the “sealed” bathroom
People talk about grout and silicone like they’re forcefields. They’re not. Grout is porous, and silicone is a surface seal that can pull away, split, or simply fail where movement is constant - corners, junctions, and around shower trays.
Proper waterproofing is meant to sit behind the tile surface, like a quiet raincoat. It’s the membrane, the correct primers, the right detailing at penetrations and corners, and the continuity you never get to admire in photos. Tiles are the outfit. Waterproofing is the body underneath that keeps everything from going mouldy.
The trouble is you can’t easily “see” a membrane once the room is done, so people end up judging quality by visible neatness. A straight grout line becomes proof of competence. A shiny finish becomes reassurance. Water does not care.
Where latent leaks actually start (it’s usually boring)
Most latent leaks don’t begin with a dramatic crack and a sudden flood. They begin with tiny, repeatable events: daily showers, small shifts in a house, slow movement of timber, and moisture tracking along the easiest path.
The common culprits are predictable:
- Shower screens and hinges fixed through tiles without properly sealed penetrations
- Floor wastes where the flange connection wasn’t detailed correctly
- Corners and junctions where membrane coverage is thin or interrupted
- Around baths and shower trays where the support or bedding allows flex
- Pipe penetrations (mixers, outlets, spouts) that were sealed cosmetically, not systemically
A bathroom can tolerate one weak spot for a while, especially if you’re lucky with ventilation and usage. That’s why latent leaks feel so unfair: the job seemed fine right up until it wasn’t.
The “it’s just silicone” trap
Silicone is meant to be maintenance, not the main event. When you’re relying on silicone to compensate for missing or badly executed waterproofing, you’re basically asking a flexible bead to do the job of a continuous membrane system. It’ll hold… until it doesn’t.
And because silicone fails gradually - a tiny gap, a bit of lifting, a pinhole split - water can creep behind without a single dramatic moment that forces you to pay attention.
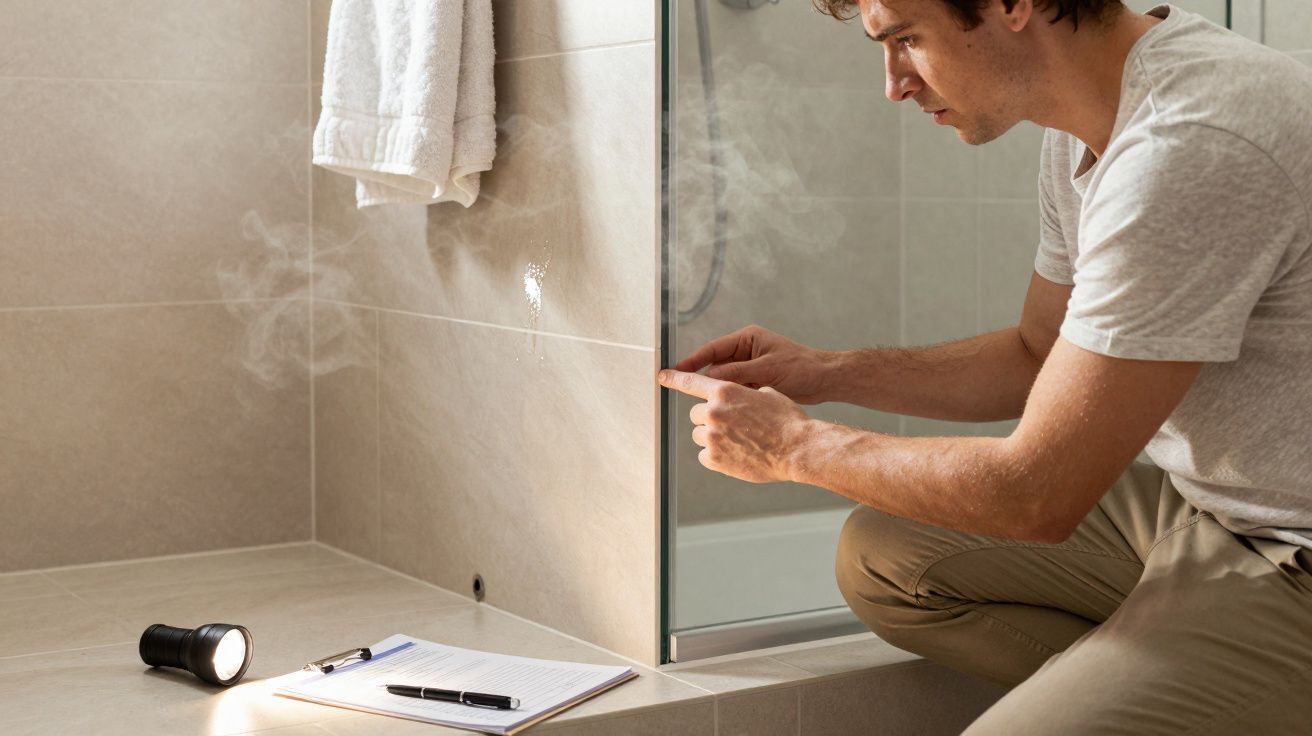
Signs you’re not paranoid, you’re early
People often ignore early warning signs because they’re subtle and easy to rationalise. That’s the whole personality of latent leaks: they whisper, not shout.
Look for these “small” things that tend to get bigger:
- A musty smell that returns even after cleaning
- Paint bubbling, flaking, or a faint brown tide mark on the other side of a wall
- Skirting boards swelling or going soft at the ends
- Grout that keeps cracking in the same line
- A shower base that feels slightly spongy or flexes when you step in
- A patch of mould that keeps coming back in one corner, no matter how faithful you are with mould spray
If you have a room directly below the bathroom, check the ceiling after long showers. Not for dripping - for a change in texture, a slightly darker patch, or that dull bloom that looks like someone pressed a warm hand against the plaster.
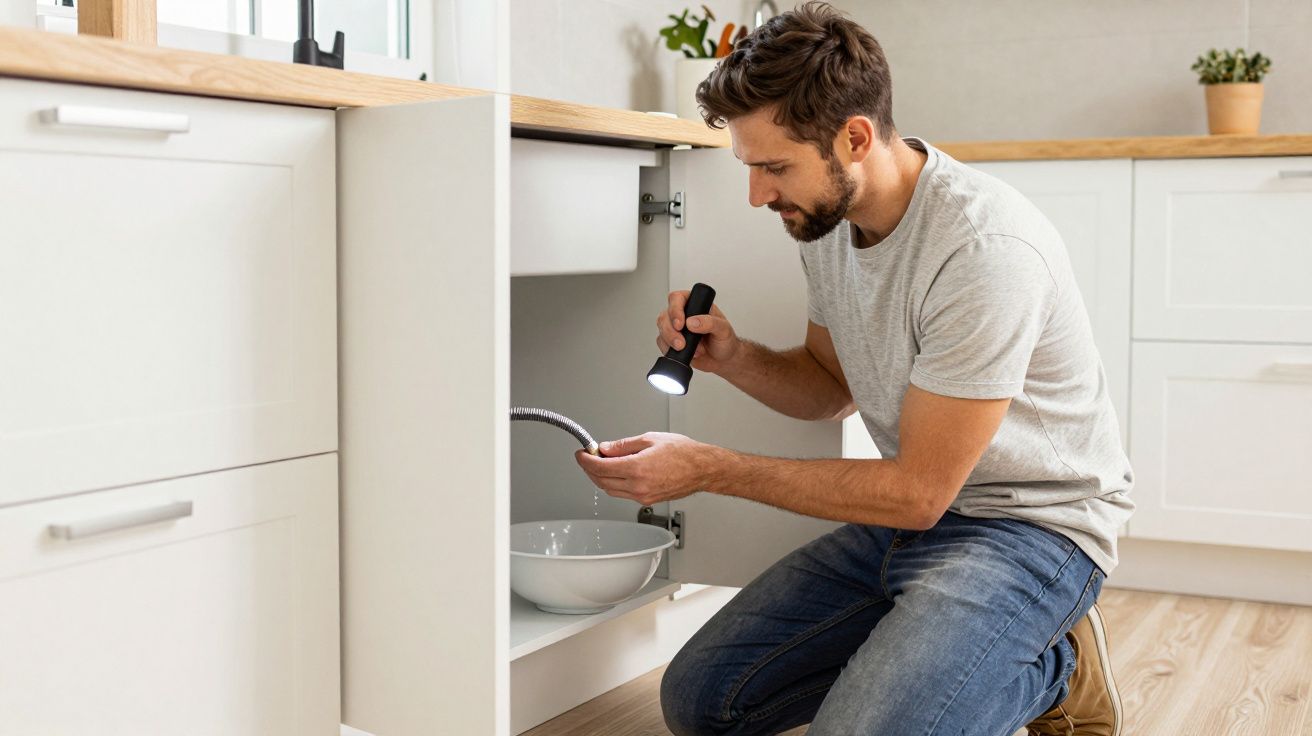
What to do if you suspect a leak (without tearing the room apart)
You don’t need to go full demolition on a hunch. You do need to get a bit more methodical than “wait and see”, because waiting is how water gets time.
A calm, practical first pass
- Stop feeding it for 48 hours if you can: shorter showers, point the shower head away from the suspect corner, don’t slosh water everywhere “to test it”.
- Dry and observe: wipe junctions dry after use, then check for damp returning in the same spots.
- Check silicone honestly: look for lifting, gaps at corners, splits around penetrations, and sections that feel loose if you press gently.
- Look beyond the bathroom: adjacent rooms, the other side of the wall, the ceiling below. Water often shows itself where it’s allowed to breathe.
If you can access under a shower tray (some have removable panels), you can sometimes spot moisture or staining early. If you can’t, resist the urge to start resealing everything at random. Resealing over a leak can trap moisture and confuse the diagnosis.
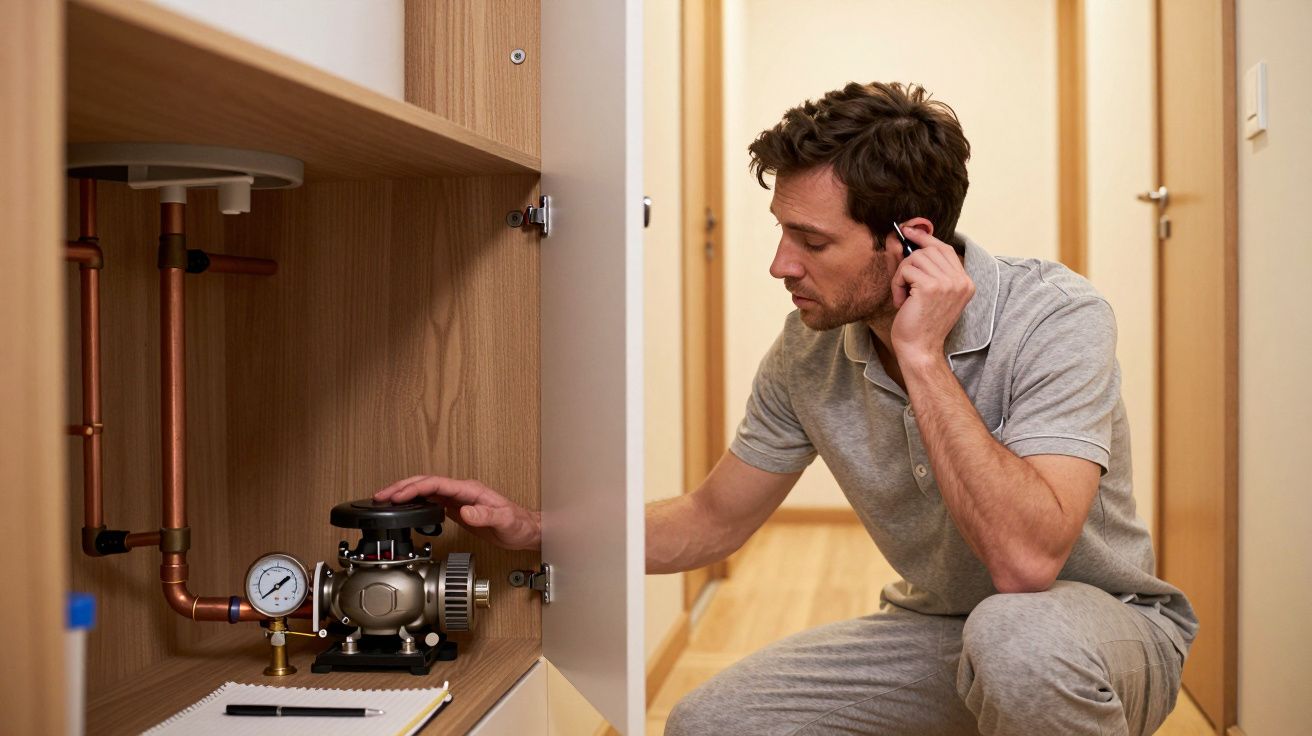
When to bring in someone who knows
A good leak detection professional or experienced bathroom waterproofer will think in pathways: how water moves, where it pools, where it wicks, what’s likely to fail first. If the bathroom is new-ish and you have paperwork, this is also where warranties and installer responsibility start to matter - but only if you act before the damage becomes “maintenance neglected”.
The uncomfortable truth about “finished”
A bathroom can be completed to a standard that photographs well and still be incomplete in the ways that count. Waterproofing isn’t glamorous. It’s the boring, hidden layer that you only miss once you’ve paid for it twice.
If you’re renovating, the best question isn’t “When will it be done?” It’s: What system are you using, how are you detailing corners and penetrations, and can you show me the stages before tiles go on? The calm confidence you want is not the kind that talks fast. It’s the kind that documents, cures properly, and doesn’t treat water like a cosmetic problem.
What “good” looks like (even if you never see it)
If you’re trying to sanity-check a quote or a plan, look for specifics rather than vibes. The language matters because it signals whether someone is thinking in systems.
Green flags tend to sound like:
- A named waterproofing system (not just “we’ll tank it”)
- Clear prep: primer, substrate checks, falls, compatible adhesives
- Proper detailing: corners, junctions, wastes, penetrations
- Cure times respected (no tiling over a membrane that hasn’t cured)
- Some form of testing/inspection before covering up
None of this guarantees perfection. It does mean the bathroom is being built to handle the one thing it will do every day: get wet.
FAQ:
- Isn’t grout waterproof enough on its own? No. Grout is porous and will let moisture through over time. It’s part of the surface finish, not a waterproof barrier.
- If I reseal the silicone, will that fix a leak? Sometimes it helps if the issue is genuinely a failed surface seal at an edge. But if the waterproofing behind the tiles is compromised, new silicone can mask the problem and delay proper repairs.
- How long can latent leaks take to show up? Weeks to months is common, but some can take a year or more depending on usage, ventilation, and where the water is travelling.
- What’s the first place to check? Corners, shower screen fixings, around the waste, and any pipe penetrations. Also check the adjacent room or ceiling below, where damp often becomes visible earlier.


Comments (0)
No comments yet. Be the first to comment!
Leave a Comment