You only notice post-renovation leaks after the excitement has worn off. Bathroom refurbishments are meant to feel like a clean reset, but without tight quality control they can quietly plant the kind of problem that shows up at 2 a.m. as a damp patch on the ceiling below. The frustrating part is that many leaks aren’t dramatic “burst pipe” events; they’re tiny, patient failures that build up over weeks.
A new tile line can hide a bad fall. A shiny chrome trap can hide a weeping compression joint. And that brand-new shower can be the most suspicious thing in the house if it was never properly tested.
Why “it looks finished” isn’t the same as “it won’t leak”
Renovations create lots of fresh interfaces: old pipe meets new valve, new tray meets old floor, new waste meets old stack. Each interface is a chance for a perfect seal-or a slow drip that no one sees until the joists have had time to soak.
The other issue is timing. Many leaks don’t reveal themselves when the installer is still on site, tools out, ready to fix it. They reveal themselves when materials settle, when silicone shrinks slightly, when the first long hot shower expands the waste and flexes the tray.
A neat bathroom can be a waterproofing success. It can also be a very tidy disguise.
The leak “hot spots” in most bathroom refurbishments
If you’re trying to prevent problems, start with the places that fail most often. Leaks usually come from movement, poor sealing, or bad alignment-more than from “bad luck”.
Common culprits include:
- Shower trays and baths: flexing, poor support, or silicone used as a structural fix.
- Tile and grout lines: grout isn’t waterproof; it’s cosmetic and partly protective.
- Shower valves and concealed pipework: tiny drips hidden behind tiles or panels.
- Wastes and traps: cross-threaded fittings, misaligned washers, over-tightened plastics.
- Toilets: pan connector not seated properly, or a slow seep at the isolation valve.
- Floor transitions: where waterproofing should continue but often stops “because it’s awkward”.
If a leak will happen, it often starts in one of these boring, predictable places.
Quality control that actually prevents leaks (not the kind that’s just paperwork)
Good quality control on a bathroom job is mostly unglamorous repetition: check, test, document, then check again when something else has been fitted around it. If you only inspect at the end, you’re inspecting cosmetics.
A practical approach is to build “hold points” into the job-moments where the next layer doesn’t go on until the previous layer is proven.
Here’s what that looks like in real life:
- Before boarding/tiling: pressure-test pipework where possible; visually check every joint that will become inaccessible.
- After waterproofing/tanking: confirm coverage and continuity (corners, niches, pipe penetrations, tray upstands).
- After tray/bath installation: check for movement and correct support before any sealing.
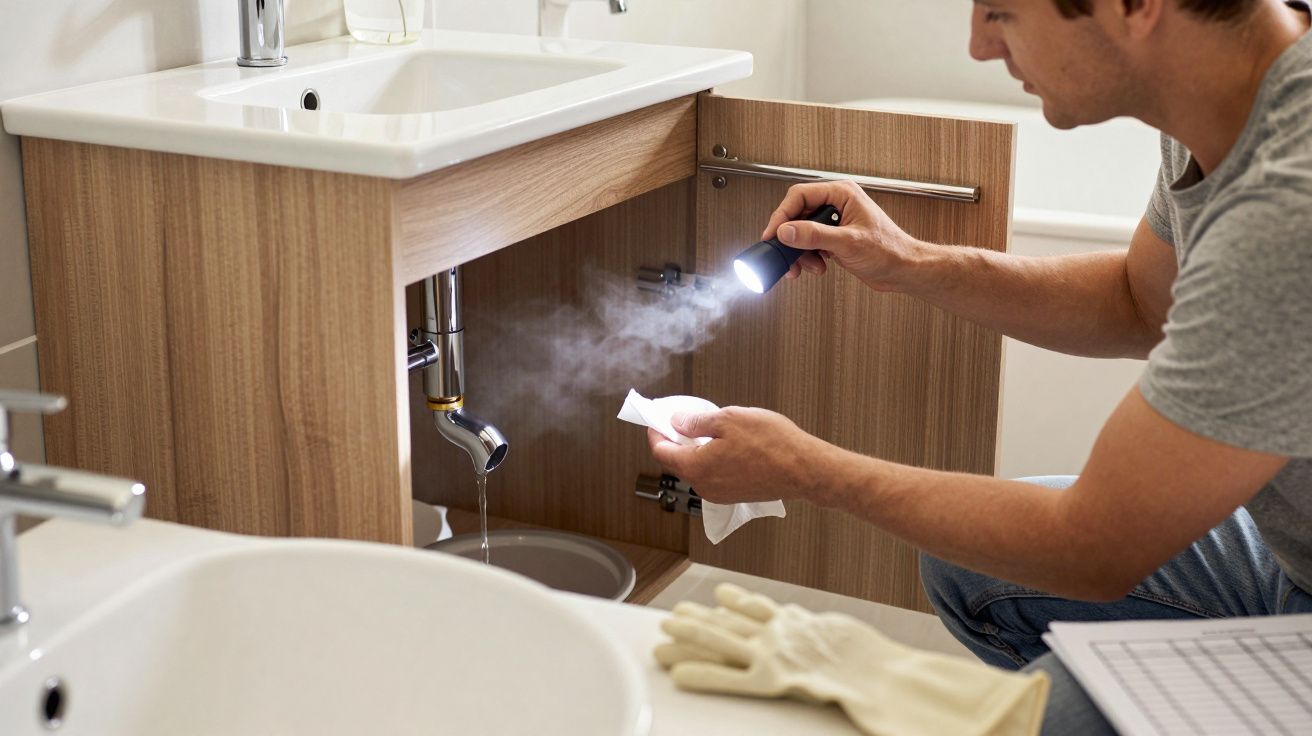
- After wastes fitted: fill and drain repeatedly while watching with a torch and dry tissue.
- Before handover: run a long shower test and inspect adjacent rooms/ceilings, not just the bathroom.
The point isn’t to “catch someone out”. It’s to catch the one weak link before it’s entombed behind tiles.
Don’t let silicone become the plan
Silicone is a sealant, not a substitute for correct falls, proper support, or aligned fittings. When silicone is used to compensate for poor installation, it might hold-until it doesn’t.
A few rules that save a lot of grief:
- Trays and baths should be solidly supported so they don’t flex when someone steps in.
- Walls should be flat and plumb so the tray-to-wall junction isn’t fighting a gap.
- Gaps should be reasonable; a huge void filled with silicone is basically a countdown.
- Correct cure time matters. Using the shower too soon is a classic way to compromise a seal.
If your installer talks about silicone like it’s magic, ask what’s underneath it doing.
Tanking, membranes, and the quiet difference between “splash” and “wet”
A shower area isn’t just a place water might touch. It’s a place water is expected to hit, bounce, run, sit in corners, and occasionally get forced through a hairline gap by pressure and daily use.
Grout and tiles are not the waterproof layer. They’re the wear surface. The waterproofing is what sits behind them.
Things worth confirming (politely, early) include:
- Is the shower area being tanked? If yes, which system and where does it start/stop?
- Are corners and board joints reinforced? These are movement points.
- How are pipe penetrations sealed? A neat cut hole is still a hole.
- Is there a continuous waterproof path to the drain? Especially on wet rooms.
If you’re paying for a bathroom, you’re also paying for the invisible layers. Make sure they exist.
A simple “five-minute early” habit for leak prevention: test before it’s convenient
The most effective leak prevention is awkwardly timed testing. The moment before a bath panel goes on. The moment before the last row of tiles. The moment before the ceiling below is painted.
A quick routine that works:
- Run water to every outlet (hot and cold) for a few minutes.
- Fill the bath or basin, then release it and watch the waste and trap while it drains.
- Plug the shower waste briefly, let a shallow pool form, then release it.
- Check isolation valves and flexi tails with dry tissue-tissue shows what eyes miss.
- Inspect outside the room: the ceiling below, the skirting on the other side of the wall, the hallway edge.
It’s not about mistrust. It’s about catching the small stuff while access is still easy.
Protect yourself from hidden leaks: access panels and “future you” design
A lot of damage happens because the first sign of a leak is already the second stage of the problem. If you can’t see or reach the likely failure points, you end up removing finished surfaces to do basic repairs.
Design choices that help:
- Fit an access panel for baths, shower pumps, concealed valves, and key junctions.
- Avoid burying joints where possible; run continuous pipe or use accessible manifolds.
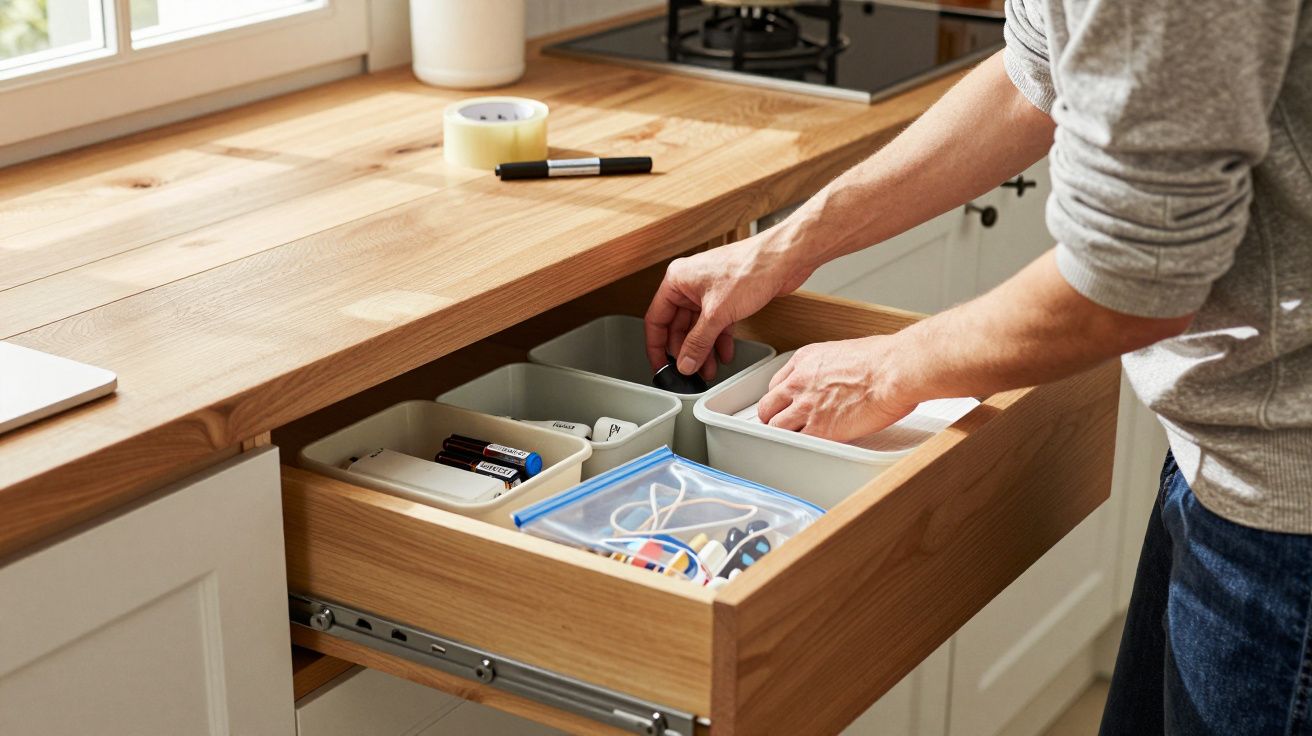
- Label isolation valves so a minor leak doesn’t become a panic.
- Consider leak alarms near high-risk points (under vanity units, near WC connections).
A bathroom can still look sleek while being serviceable. “No access” is only aesthetic until something drips.
The handover checks that catch the leaks everyone misses
A proper handover is more than “here’s how the shower works”. It’s the final chance to spot patterns: a slow seep, a slight tray movement, a waste that only leaks when the pipe warms up.
Ask for (or do) these checks:
- A long shower test (10–15 minutes) with the bathroom door closed, like real life.
- A visual check of seals in corners and around penetrations, not just the obvious bead.
- A photo record of pipe routes and waterproofing stages if available.
- A snag list window: agree what happens if something shows up in the first few weeks.
Most good trades expect a snag list. The difference is whether you’re snagging a stiff hinge-or preventing a ceiling repair.
Turning “leaks” into a checklist, not a surprise
Once you see leaks as predictable failures at predictable points, the anxiety drops. You stop hoping for luck and start building in checks.
- Leaks love hidden joins and rushed sealing.
- Movement is the enemy of perfect joints.
- Testing is most valuable before things look finished, not after.
FAQ:
- Can grout alone stop water getting through? No. Grout is not a waterproofing system; it can slow water but moisture can pass through to whatever is behind.
- When do post-renovation leaks usually show up? Often in the first few weeks, once materials settle and the shower or bath is used daily, but slow leaks can take months to become visible.
- Should I insist on tanking in a shower area? In most modern refurbishments, yes for the wet zone. The exact approach depends on the room type (standard shower vs wet room) and substrate, but relying on tile and grout alone is risky.
- What’s the quickest way to spot a small leak? Dry tissue around joints and traps during a fill-and-drain test shows even tiny weeps, and checking the ceiling/walls outside the bathroom catches migration early.
- Is an access panel really necessary? If there’s a bath, concealed valve, or any junction that could leak, access massively reduces repair damage and cost later.


Comments (0)
No comments yet. Be the first to comment!
Leave a Comment